
Last updated November 16, 2026
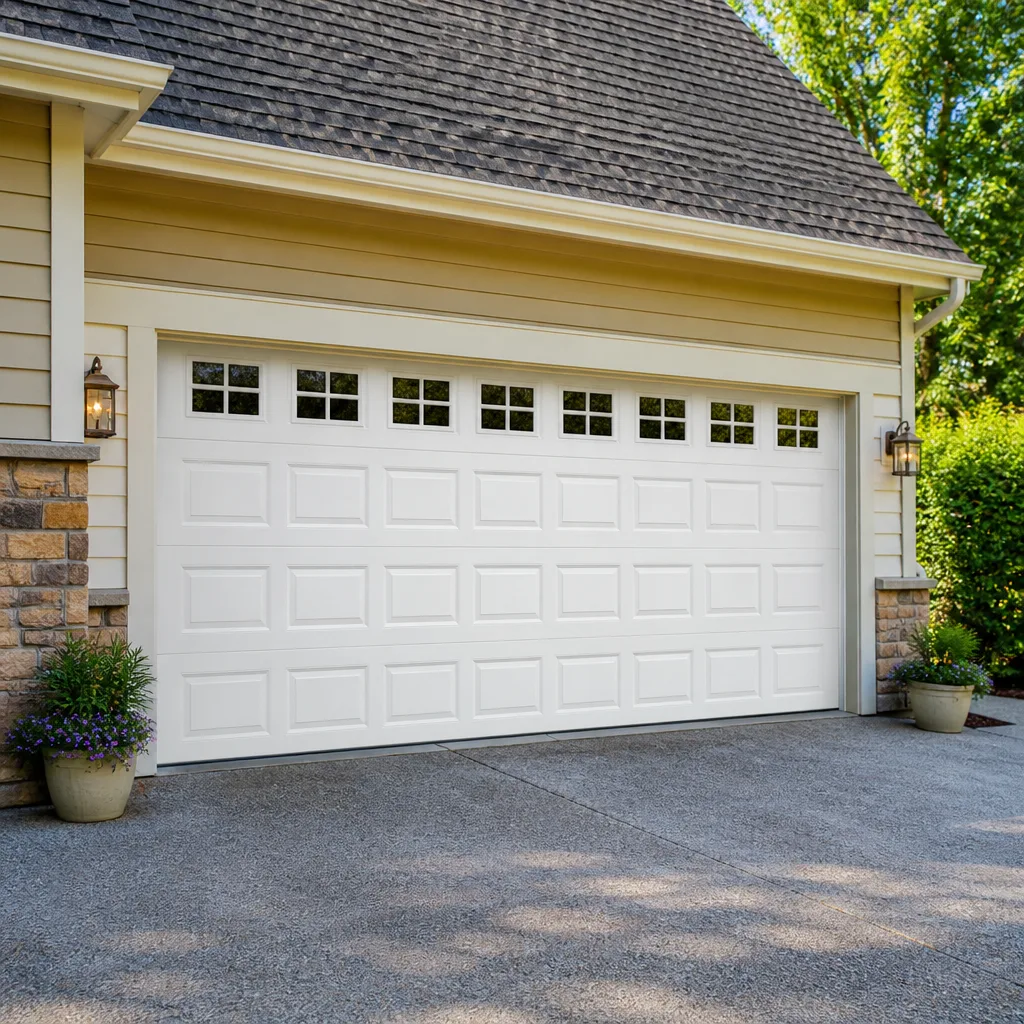 Raised-panel steel
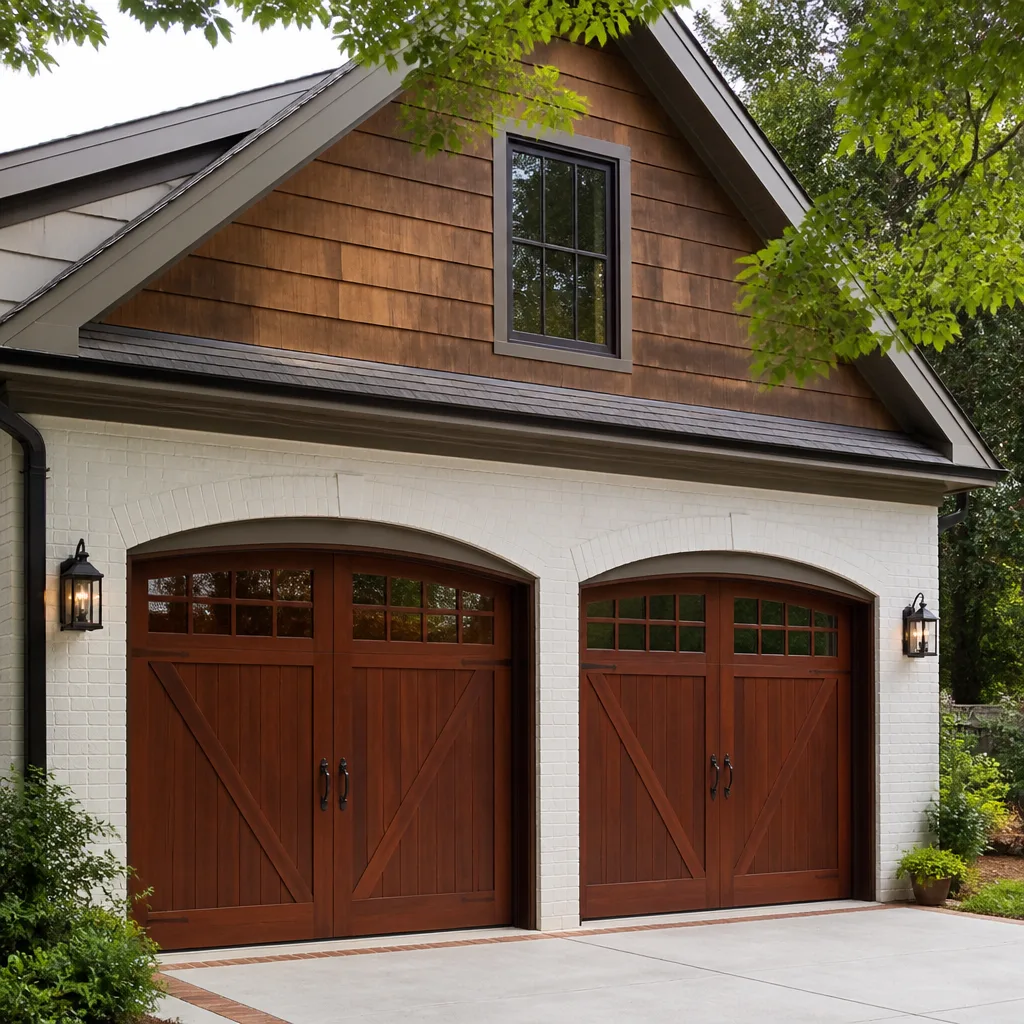 Carriage house
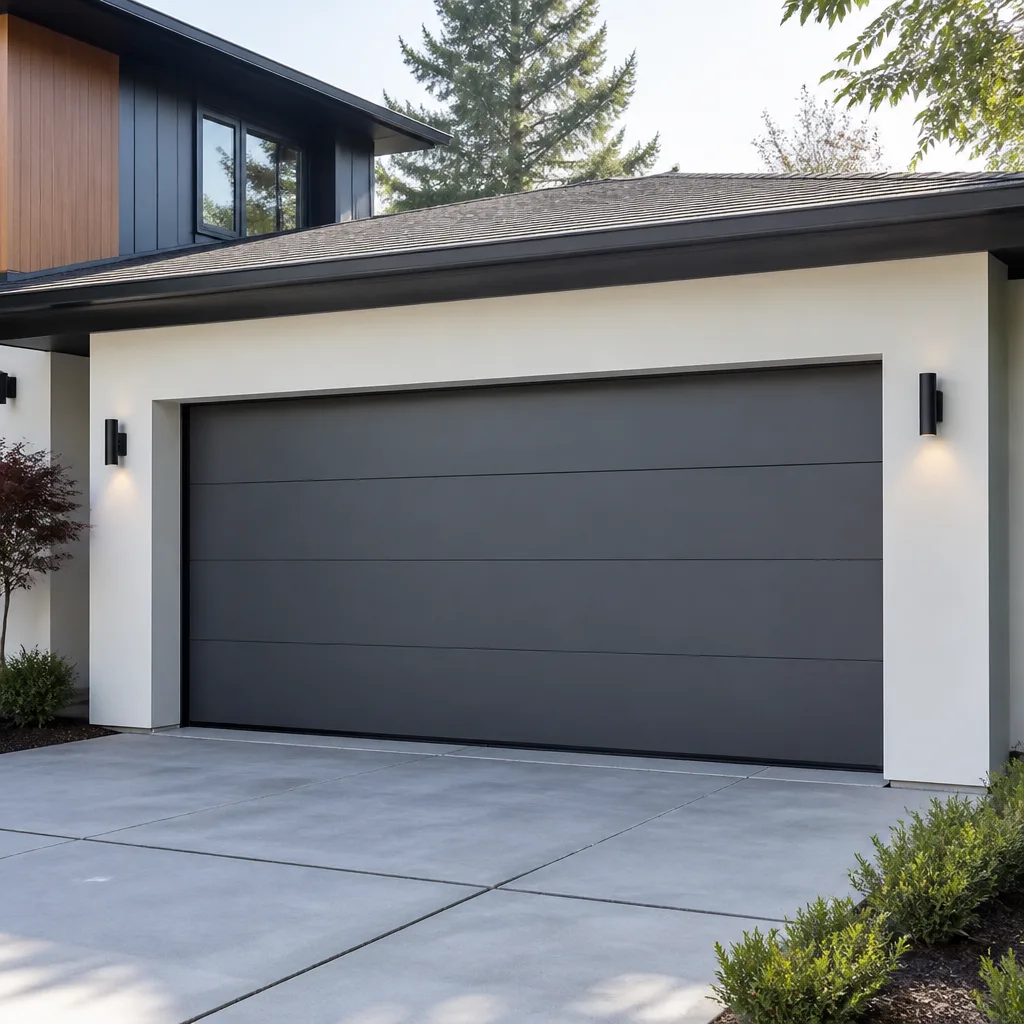 Modern flush
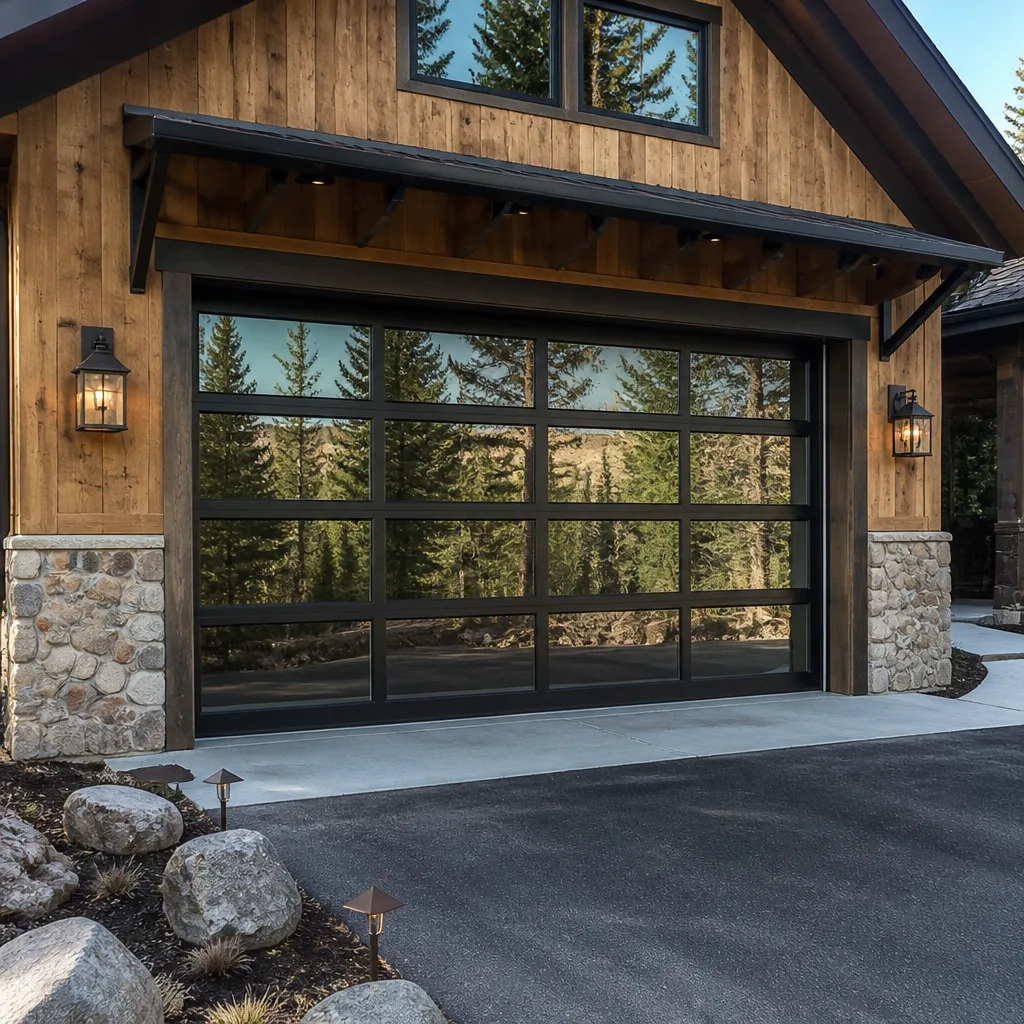 Full-view glass
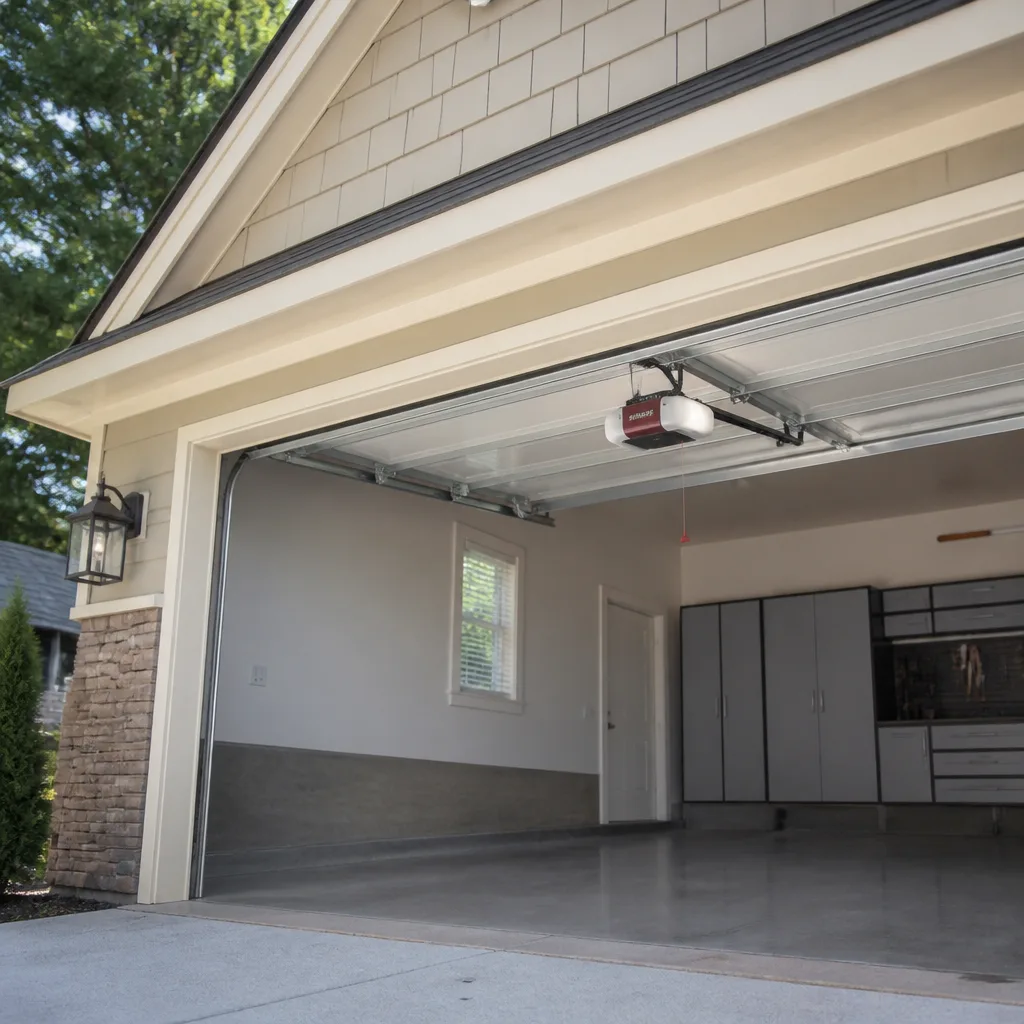 LiftMaster openers
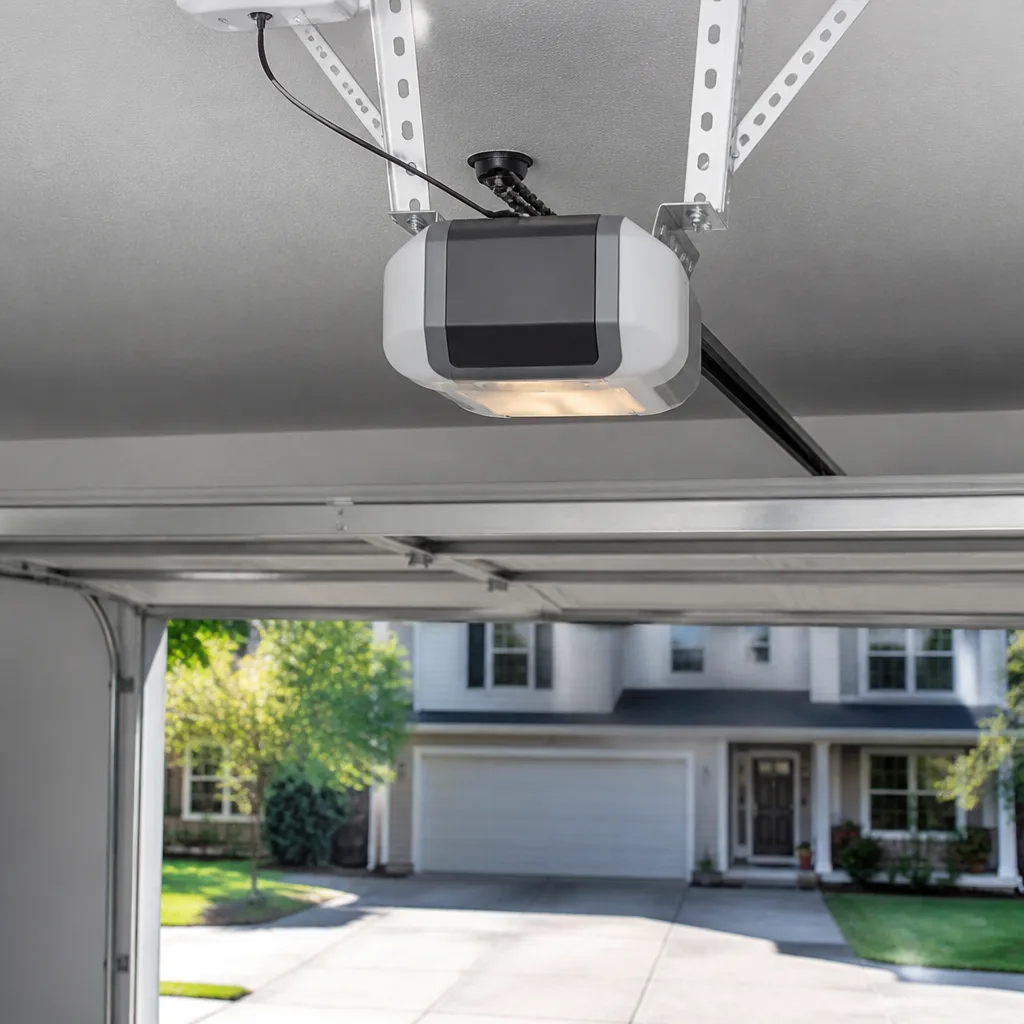 Chamberlain openers
Full 25-point door and opener safety check with every visit - springs, cables, rollers, tracks, and your LiftMaster or Chamberlain opener included
You get a price before we start. It does not change when the pro arrives.
Get your free estimateDIY vs Professional Garage Door: The Tyler Homeowner’s Decision Guide
Most home repairs fail in a way you can fix later. A bad paint job looks bad, a crooked shelf gets re-hung, a leaky faucet drips until you call someone. Garage doors don’t work that way. The spring above your door holds enough stored energy to cause serious injury the instant something slips, and “the instant something slips” is exactly what happens when someone without hundreds of spring adjustments under their belt makes one small error. That changes the whole DIY calculus. This guide separates the tasks Tyler homeowners can handle safely from the ones where the risk is structural or worse, plus the cost math that actually decides it.
Quick Answer
You can safely handle garage door DIY like visual inspections, lubrication, cleaning the tracks, testing the safety reverse, and replacing remote batteries or light bulbs. Leave torsion springs, cables, and anything involving the counterweight system to a trained professional, and treat opener wiring and structural track adjustments as pro work too. In Tyler, the repair tasks that carry real injury risk almost never save enough money to justify the gamble.
Styles & brands we work with
- Raised-panel steel
- Carriage house
- Modern flush
- Full-view glass
- LiftMaster openers
- Chamberlain openers
Table of Contents
- The Three-Tier Task List: Safe, Caveats, Never
- Tools Homeowners Underestimate (and Why Substitutes Injure People)
- Does DIY Actually Save Money? The Real Cost Breakdown
- What Tyler Code and Homeowner’s Insurance Say About Self-Performed Work
- What Watching a Professional Once Teaches You
- Signs You Should Stop and Call
- Common Mistakes to Avoid
- Frequently Asked Questions
The Three-Tier Task List: Safe, Caveats, Never
Not every garage door job belongs in the same category, and treating them all as “DIY” or all as “call a pro” is how people get hurt or waste money. Here’s the split we use when we’re walking a Tyler homeowner through their options.
Tier 1: Safe DIY
- Monthly visual inspection. Look at springs for visible gaps or uneven gaps between the coils, check cables for fraying, and look for loose bolts on the hinges. A glance from arm’s length is safe and sometimes catches problems early.
- Lubrication. A silicone-based lubricant on springs, hinges, rollers, and the opener’s chain or screw drive keeps things quiet and smooth. No tools needed beyond the spray.
- Track cleaning. Wipe the inside of the tracks with a damp rag. Dirt buildup causes binding. Never pry or bend the tracks; remove debris only.
- Safety reverse test. Put a roll of paper towels or a short board in the door’s path, close it, and confirm the door reverses on contact. Every opener made since 1993 must meet that reverse-on-contact requirement.
- Remote and keypad batteries, light bulbs. These are the easiest fixes in the whole system and they account for a surprising share of “my door won’t work” calls.
Tier 2: DIY With Caveats
- Photo-eye alignment. If your door won’t close because the sensors at the floor aren’t aligned, wiping the lenses and nudging the brackets can fix it. But a loose bracket often means a bent track underneath, which is Tier 3 work. Inspect after you adjust.
- Roller replacement. Swapping a worn nylon roller on a door that’s fully down and under no tension is within reach for a confident homeowner. Skip this if the door is at all stuck, if the roller sits in a damaged track, or if you can’t get the door fully lowered on your own.
- Weather seal replacement. The rubber seal along the bottom edge is a straightforward swap from inside the garage. The trick is getting the right profile for your door’s track, which is where homeowners run into trouble.
Tier 3: Never DIY
- Torsion springs and extension springs. These hold the door’s weight and they’re under load even when the door is down. A slipped spring can cause serious injury in a fraction of a second. No tutorial conveys the feel of spring tension that a technician with years of adjustments knows by instinct.
- Cables. Cables run along the spring system and can snap with force when freed. Replacing one means releasing and rebalancing the counterweight, which is the same risk as spring work.
- Track replacement or realignment. A bent track means the door’s weight is loading unevenly. Straightening a track by feel misaligns the whole frame.
- Opener motor replacement or full electrical wiring. Opener wiring is line voltage. Even swapping some openers involves safety sensors, wall controls, and load calibration that a trained hand handles in one visit.
- Panel replacement on a torsion system. Lifting a sectional panel out to swap it sounds easy until you realize the door must be fully de-tensioned first.
The pattern is simple: if a task involves releasing stored tension or line voltage, it’s Tier 3. If it involves the door sitting completely at rest, it’s usually Tier 1 or 2. When in doubt, our garage door repair page breaks down which repairs are quick and which aren’t.
Tools Homeowners Underestimate (and Why Substitutes Injure People)
The injury reports we hear about rarely start with someone being reckless. They start with someone using the wrong tool the right way. Improvised tools fail under spring tension and opener torque in ways that a proper tool wouldn’t, and that’s exactly when a door shifts onto a hand or a spring releases a load.
Here are the tools homeowners most often substitute, and why the substitute creates risk:
- Winding bars. Torsion springs are wound using two solid steel bars that fit into the spring cones. Homeowners sometimes try screwdrivers or hex keys. Those bend and slip out of the cone under load. Serious injury is a known risk any time a bar comes out of a loaded cone.
- A ladder of the right height. Step ladders positioned under a door that’s open put a person’s head or shoulders in the door’s travel path. A proper ladder is set up and the door is fully down before any work begins.
- Vise grips and C-clamps. These are often used as “holding devices” for a door in a partially open position. If the wrong point is clamped, the door’s own weight causes the clamps to slide.
- A torque wrench versus a ratchet. Opener rail bolts and spring-mounted hardware call for specific torque. Overtightening strips the mounting plate, undertightening allows hardware to walk loose.
- Safety glasses and work gloves. Tensioned spring coils and rusty cables release debris when they move. Cheap substitutes exist and cost almost nothing relative to the risk.
The pattern repeats across every trade: the tool costs less than the injury. A pair of proper winding bars and a torque wrench cost less than a single urgent-care visit, and they don’t fail. We work on LiftMaster and Chamberlain openers all week, and the failures we see traced back to tool substitutions almost always come with an opener that’s been mis-calibrated and a door that’s been working at the wrong tension for months.
Does DIY Actually Save Money? The Real Cost Breakdown
The cost math only favors DIY at the low-risk end. For spring, cable, or track work, the small parts markup you’d save is almost always outweighed by the risk of doing the job wrong and paying twice. Here’s the honest split, with typical Tyler-area ranges:
| Task | Typical DIY Cost | Typical Professional Range | Verdict |
|---|---|---|---|
| Lubrication (silicone spray, 1 can) | $8 to $15 | Included in most service calls | DIY |
| Bottom weather seal replacement | $25 to $60 | $80 to $140 installed | DIY |
| Remote or keypad replacement | $25 to $45 | $50 to $90 installed | DIY |
| One torsion spring replacement | $40 to $80 in parts | $180 to $340 per spring | Professional. A matched pair is usually replaced together, so about twice that. |
| Opener motor replacement | $120 to $250 in parts | $250 to $550 installed | Professional |
| Track replacement or realignment | No realistic DIY path | $150 to $400 | Professional |
Prices here are typical estimates for the Tyler market; the written estimate you get before work starts is what sets the final price. On the spring line, the money you’d “save” by installing the spring yourself is often $100 to $200, and it comes with the highest injury risk in the trade. That’s not a good trade, and it’s the number the math actually comes down to.
Where DIY really wins is on the small stuff. Twenty minutes with a can of lubricant and a roll of paper towels each month extends the life of the whole system and catches problems early. That’s the most valuable DIY work on the door. Everything past that line is where a professional garage door opener repair visit pays for itself by preventing a repeat.
What Tyler Code and Homeowner’s Insurance Say About Self-Performed Work
We’re not attorneys and we don’t speak for your insurer. What we can tell you is what we’ve seen work and what we’ve seen come back to bite homeowners. Start with the city. Most cities in Texas, Tyler included, require a permit for structural changes to a garage door’s outside dimensions, changes to the opening, and in many cases for a full door replacement. That permit is the homeowner’s responsibility to pull, so call the Tyler building department before any structural change and ask what applies to your specific project.
Insurance is a murkier area. Standard homeowner’s policies vary widely in how they cover self-performed work, and the details matter when a claim comes up. The pattern that repeatedly creates trouble is this:
- Damage that traces back to an unpermitted change is often outside the scope of coverage, and the insurer’s adjuster is the one who decides.
- Damage from a door that came loose in a windstorm usually doesn’t trigger a problem if the door was installed to code. It can if it wasn’t.
- Injury during self-performed work sits inside the homeowner’s medical or health coverage, not the garage door’s warranty. There’s no small-claims shortcut for that.
What we recommend: before any structural work, whether it’s a track change, a new door, or anything that alters the opening, make two calls. One to the city for the permit question, one to your insurer to ask how self-performed work is treated under your specific policy. Our repair team handles non-structural repairs all day and we’re happy to explain what does and doesn’t need a permit for your home.
What Watching a Professional Once Teaches You
Here’s the counterintuitive part of the DIY question: some of the most valuable knowledge you can gain about your door comes from watching a professional work through a repair once. That’s not a sales pitch, it’s how much of the trade gets learned. When a tech with a few years of experience under their belt walks you through your door system, you come away qualified to do the Tier 1 and some of Tier 2 work yourself for years afterward.
What we try to pass on during a visit:
- Where the springs are, how they’re mounted, and how to spot wear. A quick walk-through of where the springs sit and what a healthy spring looks like gets you confidently doing visual inspections forever. If your system uses a Raynor opener rail, we’ll show you the specific latching point to source correct parts when the time comes.
- How the safety sensors work and what to test monthly. Once you’ve seen the reverse-on-contact test done properly, you can repeat it in 30 seconds and know when a sensor is actually failing versus dirty.
- What a mis-aligned track looks like. We’ll point out where the tracks are tensioned, why we check them, and the specific wobble that means “call us.” You’ll spot it before it becomes a bigger problem.
- Which brand uses which parts. Parts for a Genie opener aren’t the same as parts for a LiftMaster or Chamberlain, and we’ll tell you which of your specific units takes which so your future replacement decisions aren’t guesses.
- How to keep a maintenance log. When the last lubrication was, when the last spring was replaced, what the manufacturer’s stated load was. A simple log on the inside of the garage door frame saves a lot of guessing later.
The knowledge transfer is real. A homeowner who’s watched one repair carefully usually handles the next five years of monthly maintenance without a call. We think that’s the right outcome. The Tyler Garage Door Service approach is to leave each homeowner more informed than when we arrived, which means fewer headaches between visits.
Signs You Should Stop and Call
There’s a specific set of symptoms where the right move is to put the tools down, close the door if you can, and call. Recognizing these five catches most problems before they get worse:
- The door feels “springy” or unusually light. A garage door should feel heavy to lift by hand. If it lifts easily, a spring has failed or the tension is wrong.
- A visible gap or broken coil in a torsion spring. That’s a failed spring. Don’t operate the door. It may run the opener motor until the motor burns out or the door falls.
- The door binds or shudders partway through opening or closing. This is often track damage or a failing bearing plate. Force applied to a binding door turns a small fix into a bigger one quickly.
- Opener runs but the door doesn’t move. The opener motor is fine, but the drive coupling or chain has failed. This is not a DIY swap on most units.
- Visible fraying in either cable. Frayed cables can snap with force. Don’t touch them and don’t open the door if you can avoid it.
See the difference
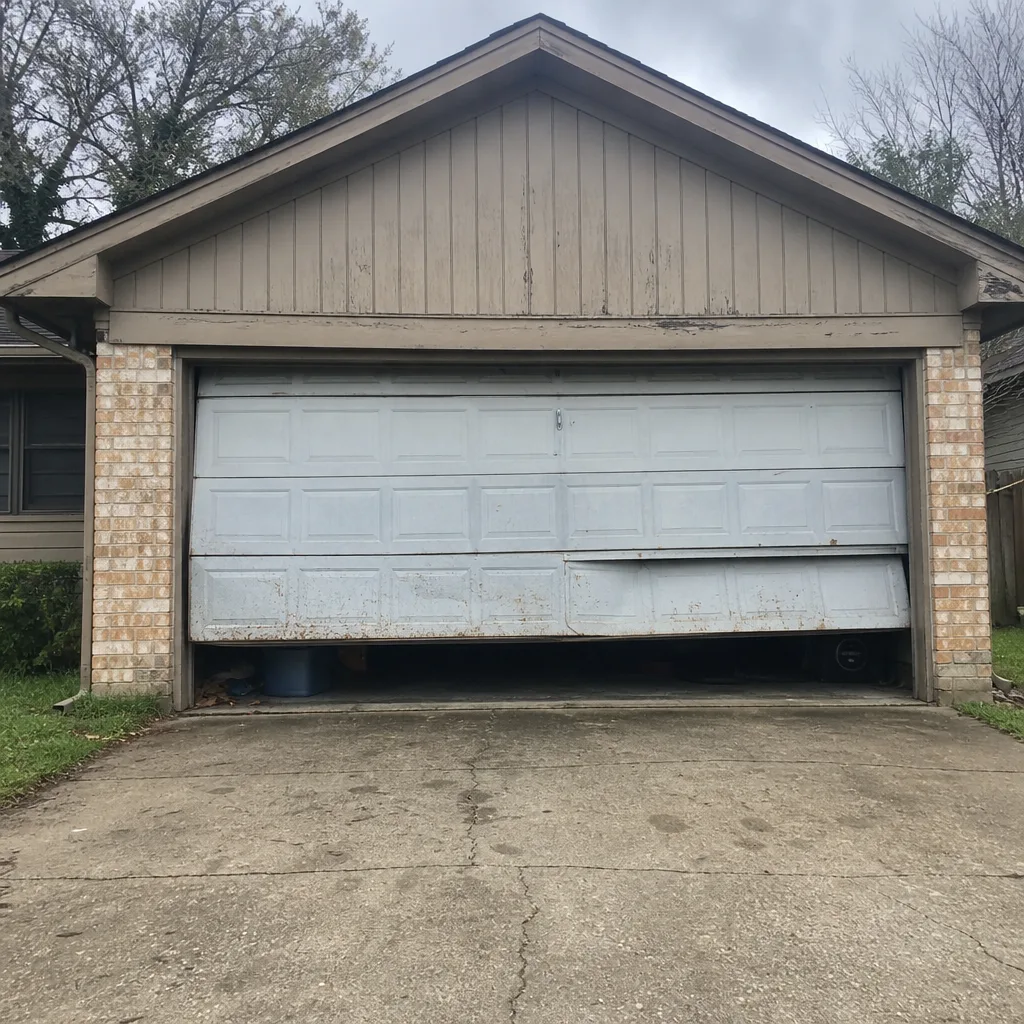 Before
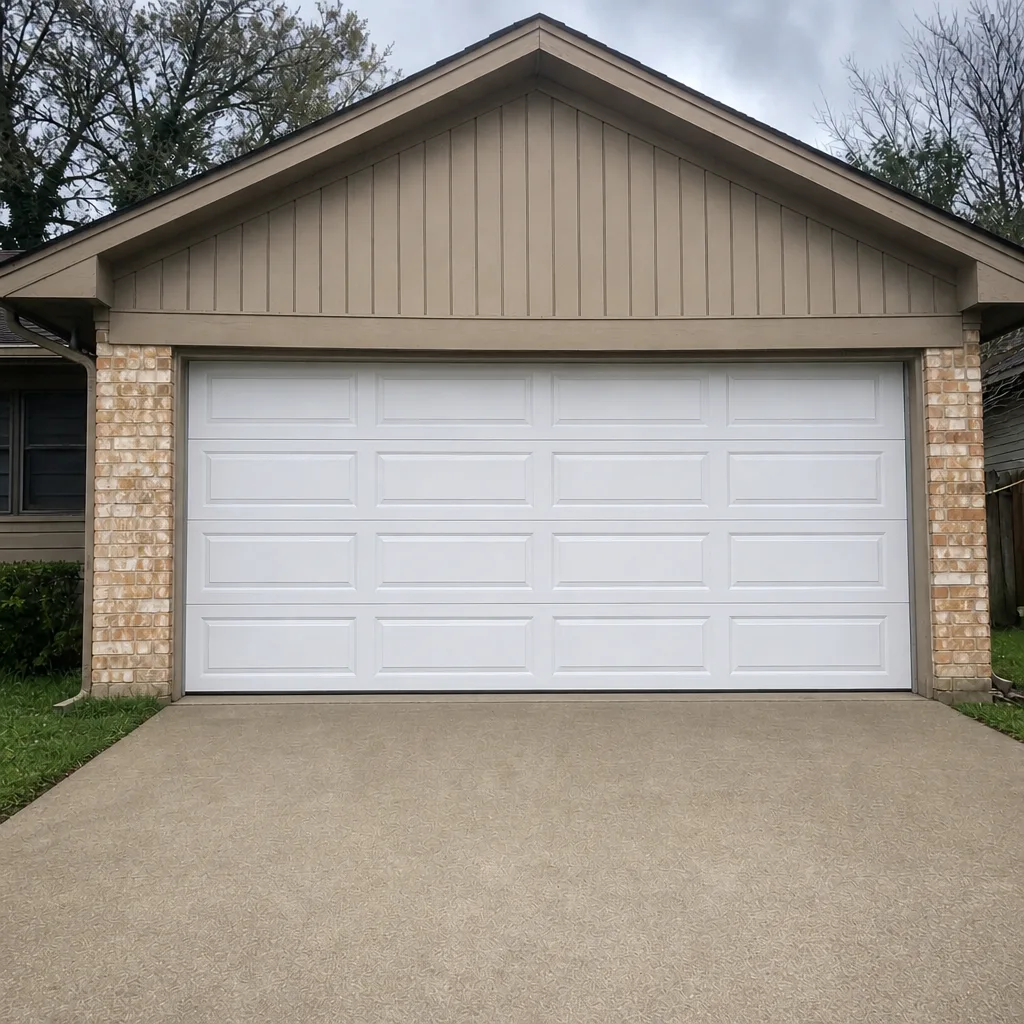 After
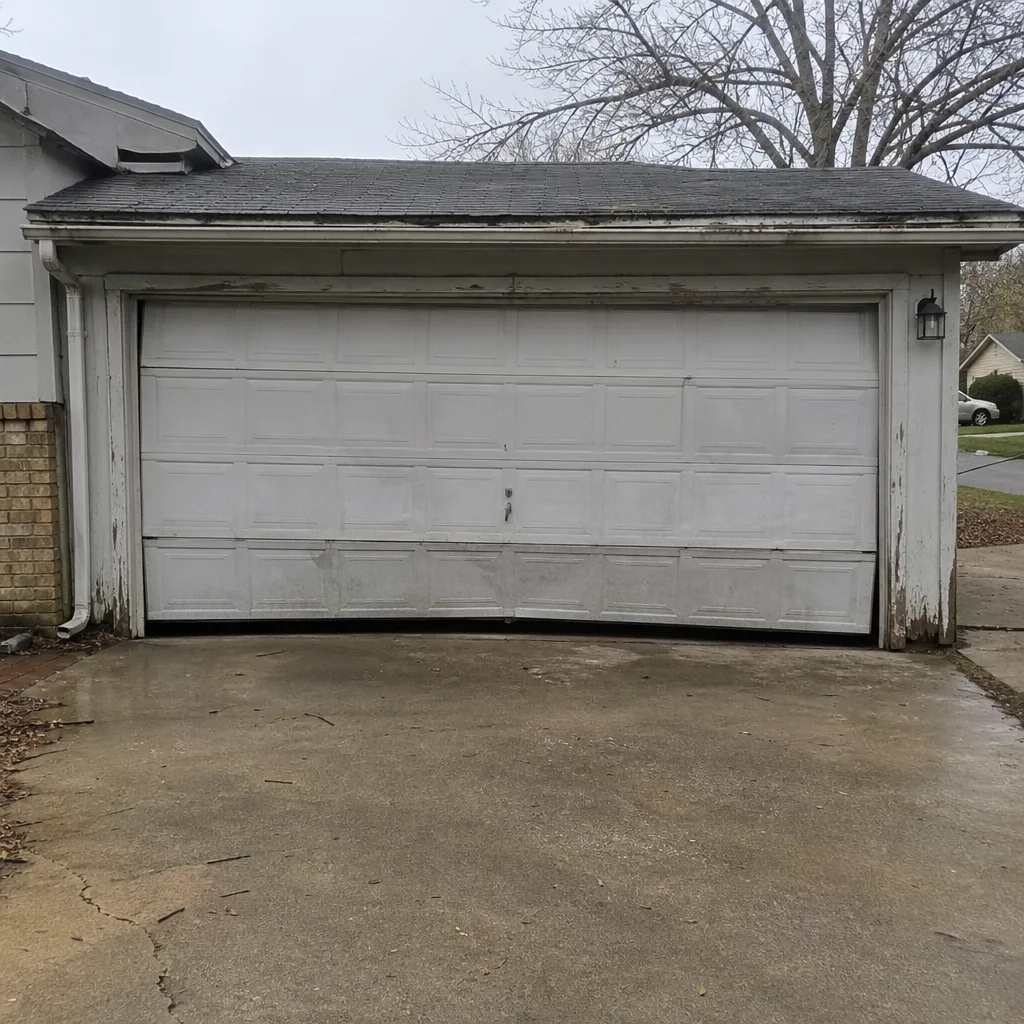 Before
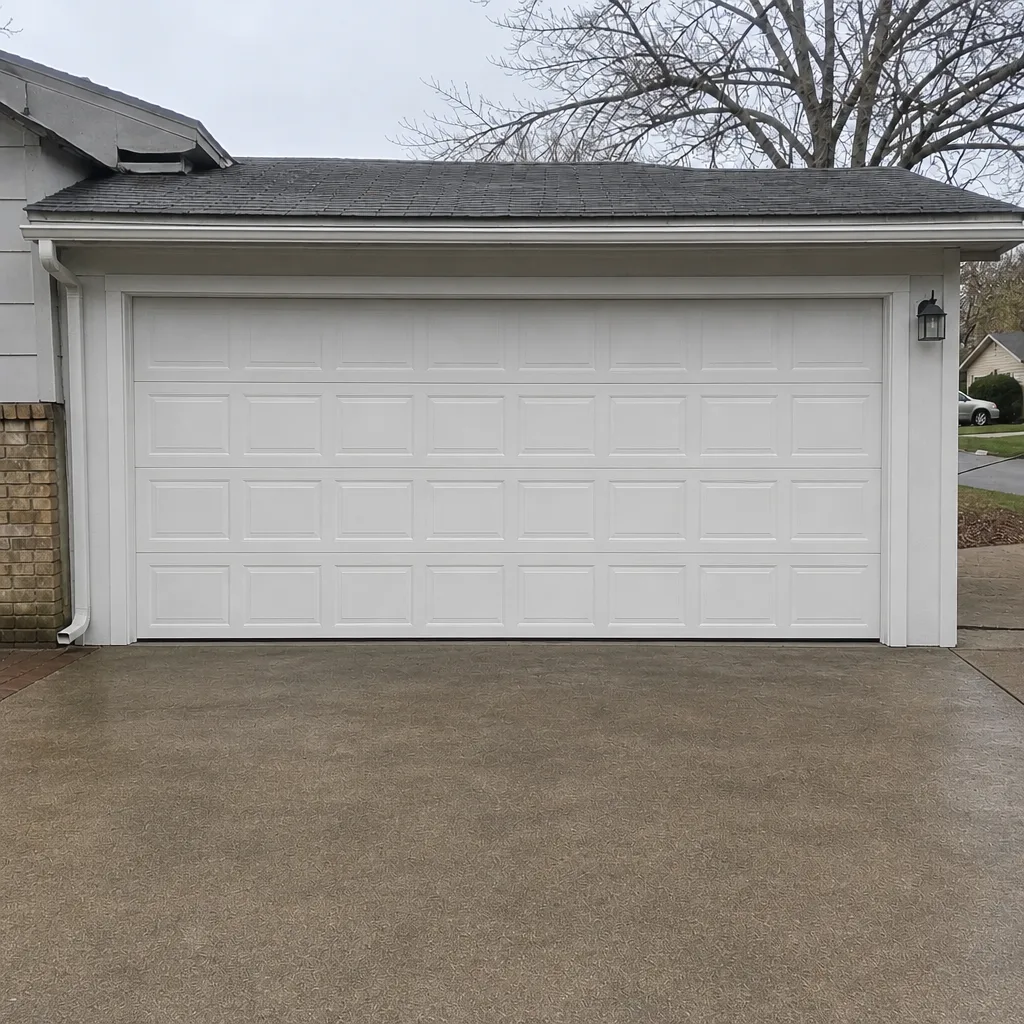 After
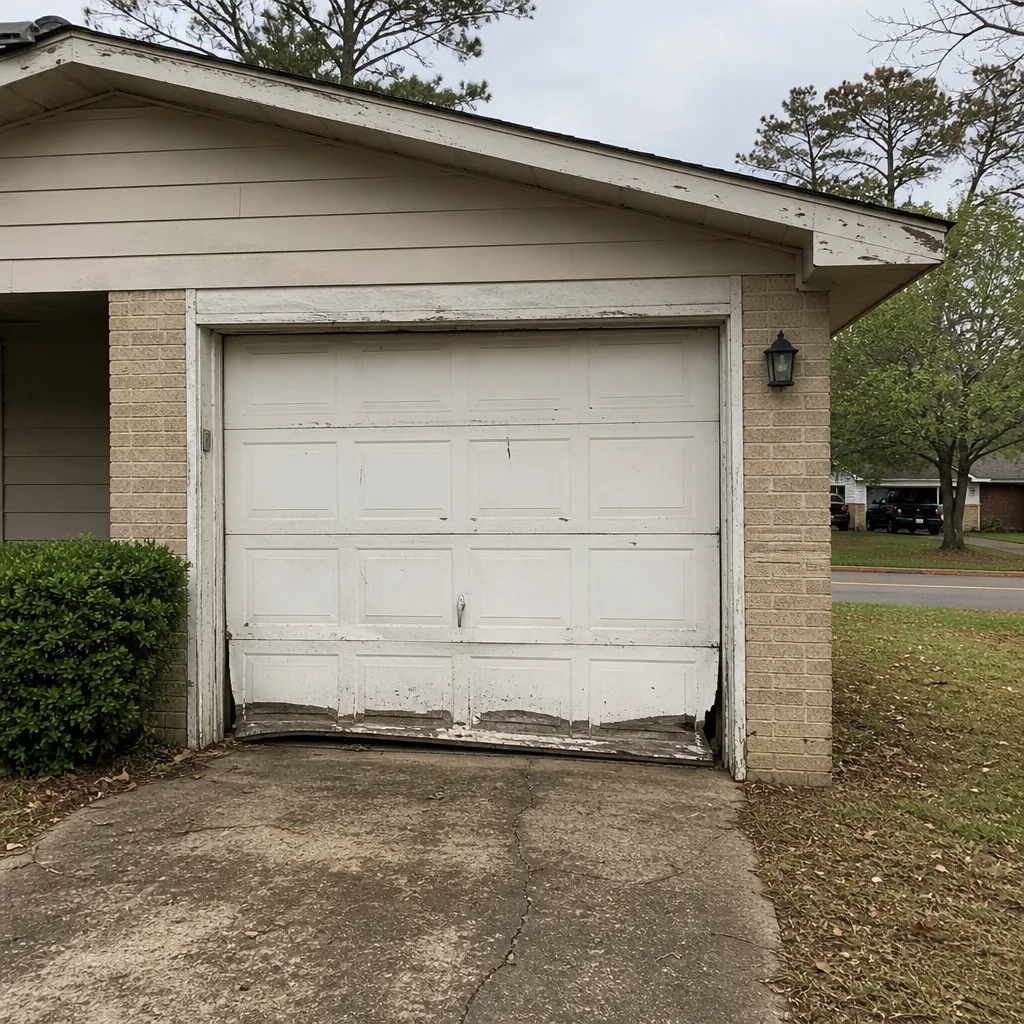 Before
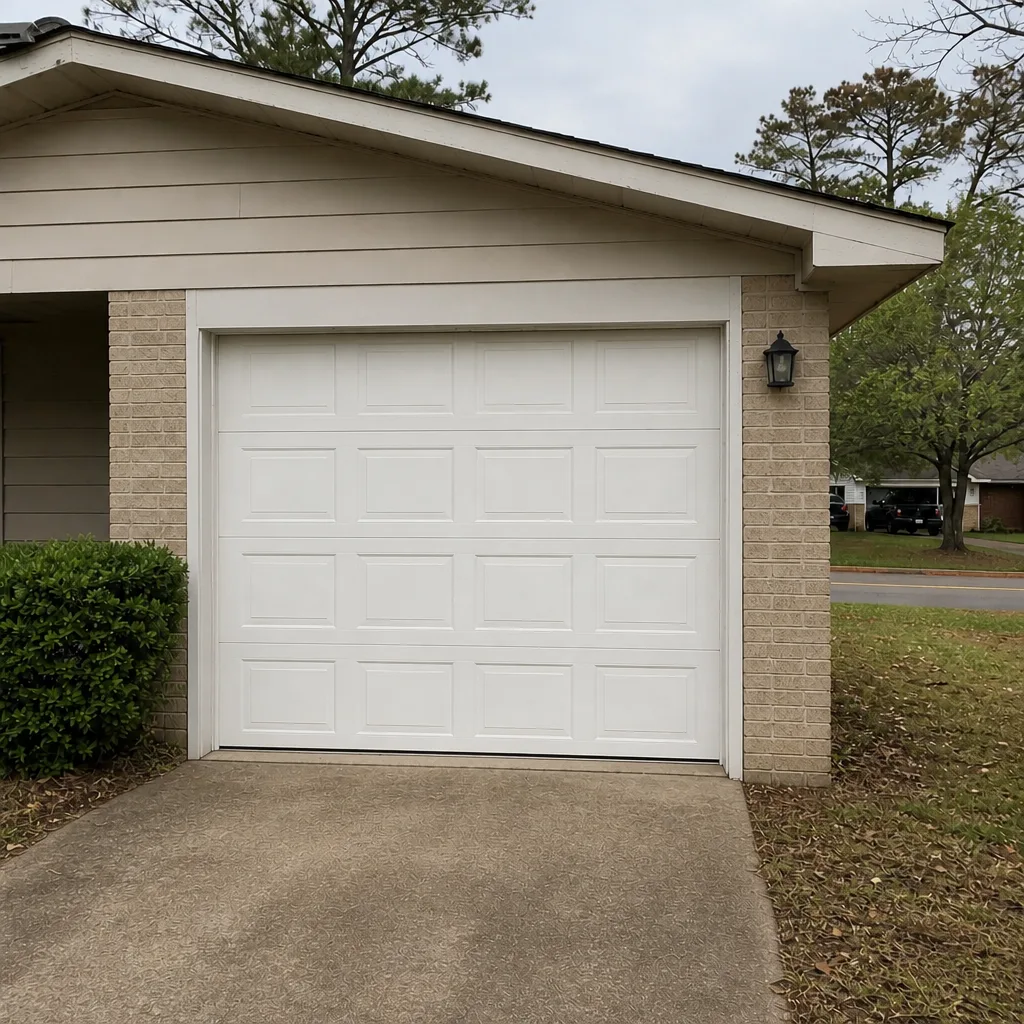 After
Common Mistakes to Avoid
- Using WD-40 on the tracks or springs. WD-40 is a solvent, not a lubricant, and it collects dust on tracks that then bind. A silicone-based garage door lubricant is the right product, and a can lasts a year.
- Adjusting track brackets by eye. A track that looks straight to the untrained eye is often off by a half inch, and that half inch is uneven load on the whole system. Structural track work is Tier 3.
- Trying to “test” a torsion spring. Torsion springs are under load even when the door is fully down. There’s no safe at-home test. The only correct test is a professional’s visual inspection.
- Putting a bucket or stool under an open door as a “holder.” If the door drifts down, the object topples and the door follows. It’s the kind of improvisation that shows up repeatedly in injury reports.
- Buying a replacement part without confirming the exact model. A Genie panel sensor is not the same as a LiftMaster or Chamberlain panel sensor, and a look-alike part often fits the harness without working. Confirm model numbers with the door’s frame sticker or a manufacturer lookup.
- Ignoring the opener’s safety reverse, especially after adjusting anything. Every time you adjust a bracket, a sensor, or a seal, re-test the reverse-on-contact. It’s the single most useful adjustment a homeowner can make.
- Doing spring or cable work alone. Even if you’re confident, working alone on a tensioned system removes the second pair of hands that could help in a bad moment. A trained professional working with the right tools and a spotter is the standard for a reason.
When to Call a Professional
Call for anything that involves releasing stored tension in the door or dealing with line voltage in the opener. That means torsion springs, extension springs, cables, track replacement or realignment, opener motor replacement, and any structural change to the door’s opening. Call also if any of the Tier 3 signs from the last section show up, if you’ve already tried a DIY fix and it didn’t work, or if the door is over 10 years old and you’ve never had it inspected by a professional. For Tyler homeowners, our repair team handles all of it, we’re factory-familiar with the major brands, and we bring both door and opener parts so it’s one visit instead of two. Tyler Garage Door Service offers free estimates in Tyler: call (844) 834-2184. We answer 24/7. Fast dispatch from 7am to 7pm, Sunday through Friday, so most repairs get handled the same day.
Frequently Asked Questions
We strongly advise against it. Torsion springs store enough energy to cause serious injury when they release unexpectedly, and that’s exactly what happens when someone without hundreds of adjustments under their belt makes a small mistake. There’s no safe at-home test for spring tension, and the small parts cost you’d save is far outweighed by the risk. Call (844) 834-2184 for a free estimate on a spring replacement.
Typical spring replacement in the Tyler area runs $180 to $340 per spring, with the written estimate setting the final price. A matched pair is usually replaced together, so a pair costs about twice that. The price is quoted and agreed before any work starts, which means the number on the estimate is the number you pay.
The most common one we see is using WD-40 on the tracks instead of a garage door lubricant. It feels right, it makes the door quieter for a few days, and then it collects grit and the rollers bind up worse than before. That binds the door’s travel, puts uneven load on the springs, and turns a cheap maintenance task into a Tier 3 repair.
That depends on your specific policy, and your insurer is the only one who can answer it for your home. What creates trouble repeatedly is unpermitted structural work, which many policies exclude from coverage. If you’re planning a track change, a new door, or anything that alters the opening, call your insurer first to ask how your policy treats self-performed structural work.
Most cities, Tyler included, require a permit for structural changes to a garage door’s outside dimensions and changes to the opening, and many require one for a full door replacement. Call the Tyler building department before any structural project. Small repairs like roller swaps, seal changes, and lubrication don’t require a permit, and our repair team is happy to walk you through what falls where.
Leave torsion springs, extension springs, cables, track replacement or realignment, full opener motor replacement, and any structural change to the door’s opening to a trained professional. The safe DIY list is real and useful: visual inspections, lubrication, track cleaning, the monthly reverse-on-contact test, and battery changes. That split covers most of what a homeowner ever needs to do. Our opener repair and Tyler pages give more detail if you want the full picture for your system.
The Bottom Line
Garage door DIY isn’t a skill question, it’s a risk question. The tasks that stay on the safe list (lubrication, inspection, seal replacement, sensor checks, battery swaps) genuinely save money and keep the door working longer. The tasks that require stored tension or line voltage don’t just fail differently, they fail dangerously, and the small parts markup you’d save doesn’t come close to balancing that. If your next step involves a spring, a cable, or a track, put the tools down and pick up the phone. The right fix from a trained professional costs less than the consequences of the wrong one. Our technicians have up to 8 years of experience and work on virtually any residential system, whether it’s a Raynor, LiftMaster, Chamberlain, or Genie, and we’d rather tell you honestly that a task is safe to do yourself than sell you a repair you don’t need.
Call (844) 834-2184 for a free estimate. We answer 24/7. Fast dispatch from 7am to 7pm, Sunday through Friday.
Written by the team at Tyler Garage Door Service.